

Photoshop is a powerful tool for editing images. Advanced masking and editing techniques can transform your photos.
Understanding advanced Photoshop masking and editing is vital for any serious photographer or designer. These techniques help you create precise selections, work with complex backgrounds, and enhance image details. Mastering these skills can lead to professional-quality results. Whether you aim to refine portraits or create stunning composites, knowing how to use these tools effectively is essential.
In this guide, we’ll explore the key methods and tips for advanced masking and editing. Get ready to take your Photoshop skills to the next level and unlock your creative potential.
Credit: lightroom-photoshop-tutorials.com
Introduction To Advanced Masking
Advanced masking in Photoshop opens doors to precise and creative editing. Masking allows you to control which parts of an image are visible or hidden. This technique is crucial for detailed photo manipulations and composites.
Importance Of Masking
Masking lets you isolate and refine parts of an image. It offers non-destructive editing, which preserves the original image data. This is vital for making adjustments without permanently altering the image.
With masking, you can blend multiple images seamlessly. It helps you adjust layers and make specific edits. Masking is the backbone of professional photo editing.
Basic Vs. Advanced Techniques
Basic masking involves simple selections and layer masks. These techniques are great for beginners. They help with straightforward edits and adjustments.
Advanced masking, on the other hand, includes complex selections and refined edges. It requires tools like the Pen Tool and advanced brush settings. These methods are used for detailed work, such as hair or fur.
Advanced techniques also involve color range selections and channel masking. These allow for precise control over intricate areas. Mastering these methods elevates your editing skills to a professional level.
Credit: proedu.com
Essential Tools For Masking
Mastering advanced Photoshop masking requires knowing the essential tools. These tools help create precise masks for editing images. Two key tools are the Quick Selection Tool and the Magic Wand Tool. Each offers unique benefits and features.
Quick Selection Tool
The Quick Selection Tool is intuitive and effective. Use it to quickly select parts of an image. This tool works by detecting edges as you click and drag. It’s excellent for selecting complex shapes and objects. Adjust the brush size for better control. This helps refine the selection. The Quick Selection Tool is powerful for detailed work.
Magic Wand Tool
The Magic Wand Tool selects areas based on color. It’s ideal for selecting solid backgrounds or areas with similar colors. Adjust the tolerance level for more precise selections. A lower tolerance selects colors closer to the click point. A higher tolerance selects a broader range of colors. The Magic Wand Tool is easy to use and effective.
Refining Selections
Refining selections is a crucial step in advanced Photoshop masking and editing. It ensures precise and clean results, making your images look professional. In this section, we will explore techniques to refine selections for better outcomes.
Edge Detection
Edge detection helps identify the boundaries of the selected area. This technique is useful for complex shapes and intricate details. Use the “Refine Edge” tool to improve the selection. Adjust the radius slider to capture fine edges. Watch how the selection improves. Preview your changes to ensure accuracy.
Feathering And Smoothing
Feathering softens the edges of your selection. It creates a gradual transition between the selected and unselected areas. Set the feather radius to blend the edges smoothly. Test different values to achieve the desired effect.
Smoothing reduces the jaggedness of the selection edge. It makes the outline look more natural. Use the smooth slider to adjust the level of smoothing. Observe the changes in the preview window. Refine until the edges appear clean and polished.
By mastering these techniques, you can enhance your Photoshop editing skills. Accurate selections lead to better masking and editing results. Practice regularly to improve your proficiency in refining selections.
Layer Masks
Layer masks are a powerful feature in Photoshop that allows for non-destructive editing. They enable you to hide or reveal parts of a layer without erasing any pixels. This makes it easier to make changes and corrections later. Understanding how to create and refine layer masks can significantly enhance your photo editing skills.
Creating Layer Masks
Creating a layer mask in Photoshop is simple. Follow these steps:
- Select the layer you want to mask.
- Click on the Add Layer Mask button at the bottom of the Layers panel.
- A white thumbnail will appear next to your layer, indicating the mask is active.
You can now use the Brush tool to paint on the mask. Black hides parts of the layer, while white reveals them.
Editing And Refining Masks
Refining your layer masks can improve your edits. Here are some tips:
- Use the Feather option to soften mask edges.
- Adjust the Density slider to control mask opacity.
- Use the Select and Mask workspace for detailed adjustments.
To access these options, right-click on the mask thumbnail and choose Properties.
Below is a table summarizing the key tools for editing masks:
| Tool | Function |
|---|---|
| Brush Tool | Paint black or white to hide or reveal parts of the layer. |
| Feather | Softens the edges of the mask. |
| Density | Adjusts the transparency of the mask. |
| Select and Mask | Provides advanced mask refinement options. |
Remember, practice makes perfect. Experiment with different tools and settings. You’ll find the best techniques for your editing style.
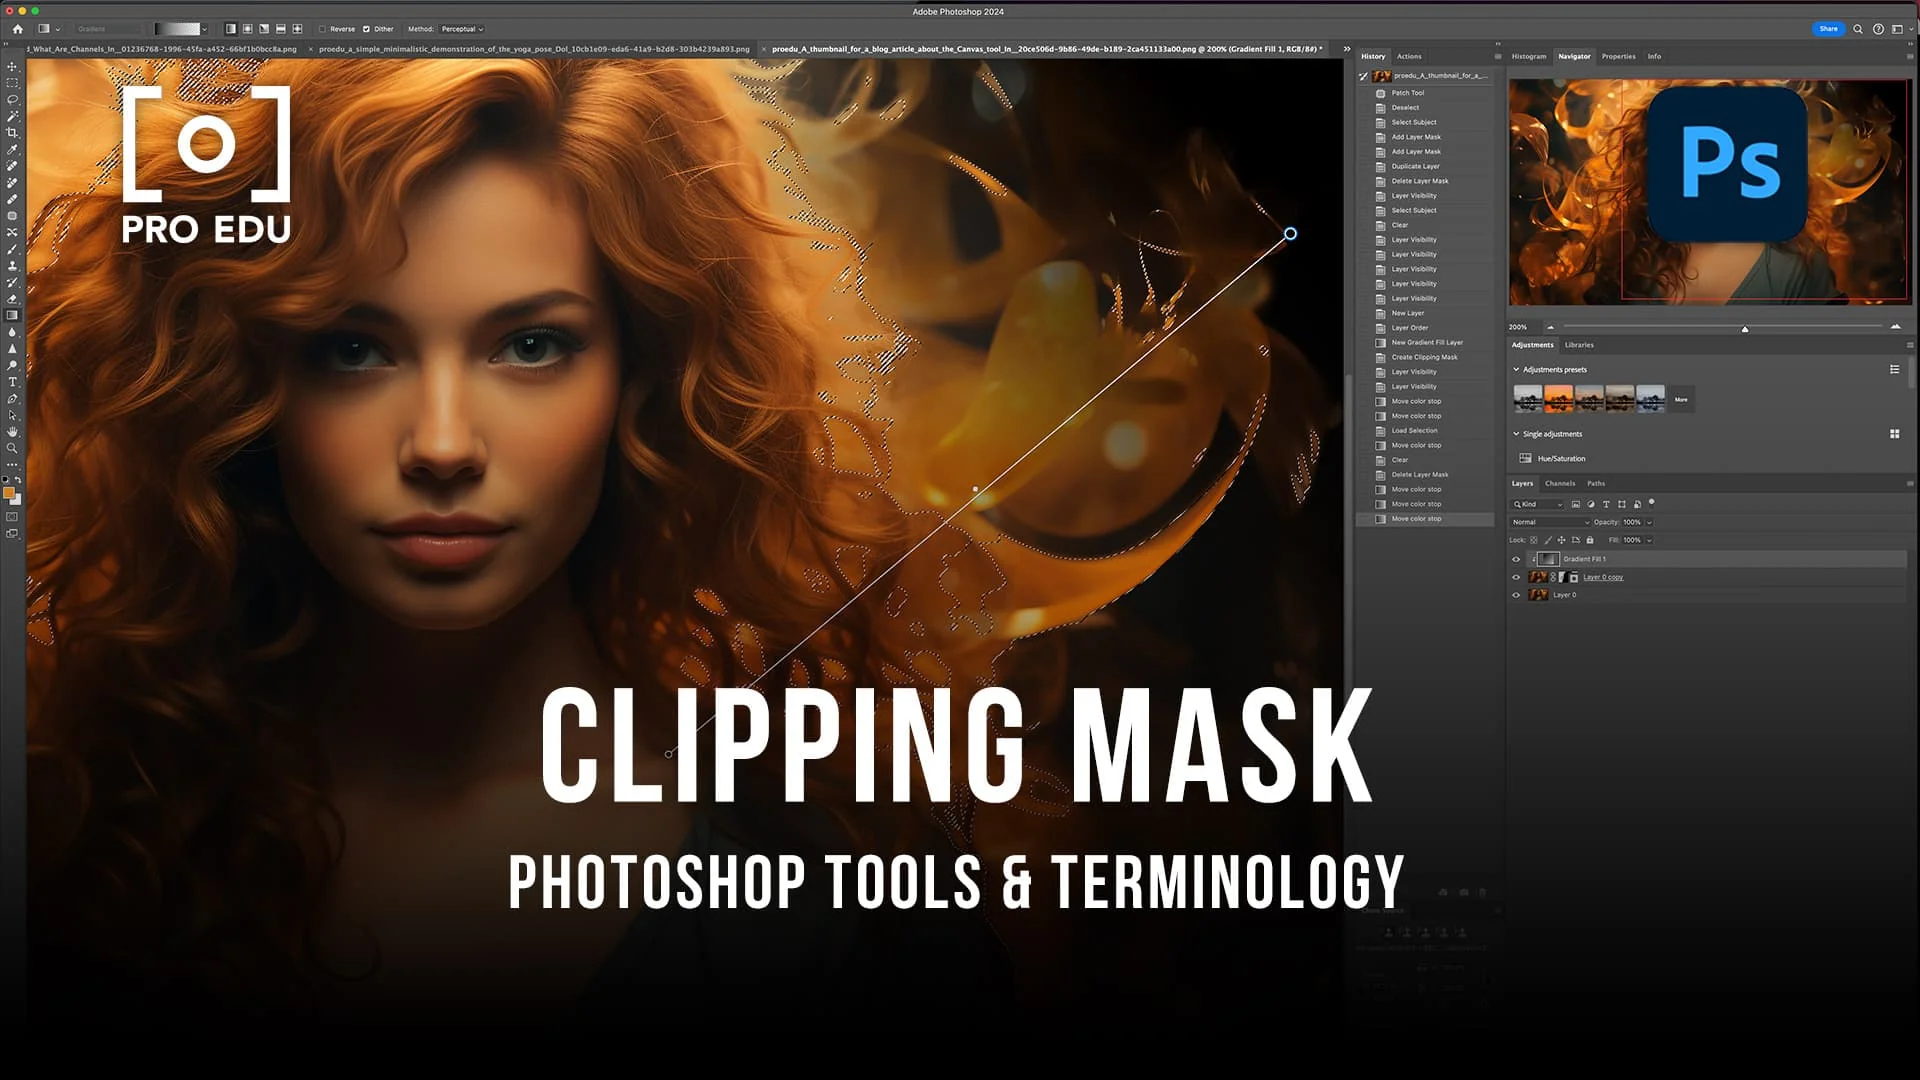
Clipping Masks
Clipping masks in Photoshop offer immense flexibility for image editing. They allow you to control which parts of your layers are visible based on another layer’s content. This technique can help you create complex images efficiently and precisely.
Creating Clipping Masks
To create a clipping mask, start by selecting the layer you want to mask. This will be the top layer. Then, hold the Alt key (Option key on Mac) and click between the two layers in the Layers panel. The top layer will now be clipped to the shape of the layer beneath it. This method ensures only the content within the bottom layer’s boundaries is visible.
Another way to create a clipping mask is by right-clicking on the top layer. Then, select ‘Create Clipping Mask’ from the dropdown menu. This method works well if you prefer using mouse actions over keyboard shortcuts.
Practical Uses
Clipping masks are perfect for adding textures to shapes. For example, you can clip a texture layer to a text layer. This adds a unique visual effect to your typography. It’s an easy way to make your text stand out.
They also help in photo editing. You can use a clipping mask to apply adjustments to a specific part of an image. This ensures your edits do not affect the entire photo. It is especially useful for retouching portraits.
Clipping masks are also useful in creating composite images. You can blend multiple images seamlessly. By clipping one image to another, you control how they interact. This technique helps in producing professional-looking composites.

Credit: proedu.com
Advanced Masking Techniques
Advanced masking techniques in Photoshop bring your editing skills to a new level. These techniques help isolate intricate details and achieve professional-quality results. This section will explore two key aspects: Complex Hair Selections and Masking Transparent Objects.
Complex Hair Selections
Selecting hair in Photoshop can be challenging due to its fine details. Start by using the Quick Selection tool to outline the hair. Next, refine the selection with the Refine Edge tool. This tool helps to capture stray hairs and smooth out the edges. Adjust the brush size for more control. Use the Smart Radius option to adjust for varying hair thickness. Finally, use the Output To option and choose New Layer with Layer Mask. This keeps the original image intact while making edits easier.
Masking Transparent Objects
Transparent objects present a unique challenge in masking. First, use the Pen tool to create a path around the object. Convert the path into a selection. Use the Select and Mask workspace to refine the edges. Adjust the Transparency slider to see the background through the object. Use the Edge Detection tool to fine-tune the mask. Finally, output the selection to a layer mask. This keeps the transparency intact while allowing for seamless edits.
Combining Masking With Editing
Combining masking with editing in Photoshop can elevate your design. It allows for precision and creativity. Masks help isolate parts of an image. Editing tools then refine these isolated areas. This combination gives you greater control over your work. Below, we explore how to use this technique effectively.
Non-destructive Editing
Non-destructive editing is key in Photoshop. It means changes do not alter the original image. Masks are perfect for this. You can hide parts without deleting them. This allows for easy adjustments later. Use layers and masks together. This provides flexibility and preserves your original work.
Adjustments And Filters
Masks work well with adjustments and filters. Apply filters to specific areas using masks. This creates targeted effects. Adjustments like brightness or contrast can also be applied selectively. Use the following steps:
- Select the layer you want to edit.
- Apply a mask to this layer.
- Make your adjustments or add filters.
This technique helps in achieving precise results. It ensures only the masked areas are affected. Experiment with different filters and adjustments. See how they interact with your masked layers.
Tips And Tricks
Advanced Photoshop masking and editing can seem overwhelming. But with the right tips and tricks, you can make your workflow smoother and more efficient. Let’s dive into some essential tips and tricks to help you master these skills.
Common Mistakes To Avoid
One common mistake is not using layers. Always work on separate layers. This keeps your original image intact. Another mistake is ignoring feathering. Feathering softens the edges of your mask. It makes the blend look natural. Avoid overusing the eraser tool. Instead, use masks. They are non-destructive and flexible.
Time-saving Shortcuts
Learning shortcuts can save you a lot of time. Press “Ctrl + J” to duplicate a layer. Use “Ctrl + D” to deselect a selection. “Ctrl + Z” lets you undo your last action. Need to zoom in and out quickly? Use “Ctrl + +” and “Ctrl + -“. For quick brush size adjustments, use the bracket keys “[” and “]”.
Frequently Asked Questions
What Is Photoshop Masking?
Photoshop masking is a technique to hide or reveal parts of an image. It allows non-destructive editing. Masks can be adjusted anytime without permanently altering the original image.
How To Create A Mask In Photoshop?
To create a mask, select the layer and click the mask icon. Use the Brush tool to paint black or white to hide or reveal parts of the layer.
Why Use Layer Masks In Photoshop?
Layer masks allow for non-destructive editing. They give you control over visibility. You can make precise adjustments without altering the original image.
What Are The Types Of Masks In Photoshop?
There are two types of masks: layer masks and vector masks. Layer masks use grayscale to show or hide parts. Vector masks use paths and shapes.
Conclusion
Mastering advanced Photoshop masking and editing techniques elevates your design skills. Practice regularly to improve. Experiment with different tools and settings. Photoshop’s features offer endless possibilities. Create stunning visuals with precision and creativity. Stay updated with new techniques. Join online communities for tips and inspiration.
Keep refining your skills. Your designs will stand out. Enjoy the creative journey!